Custom Materials
Once you have defined your material palette with your Master Materials you might want to create a unique styles for different objects in your tiny house.
For example, you might want the Vanity in your bathroom to have a different countertop material and hardware material than in your kitchen!
Create Custom Materials
Follow these steps below to create Custom Materials for any object in your tiny house.
- Select the object you want to modify, and click the Materials button in the top action bar.
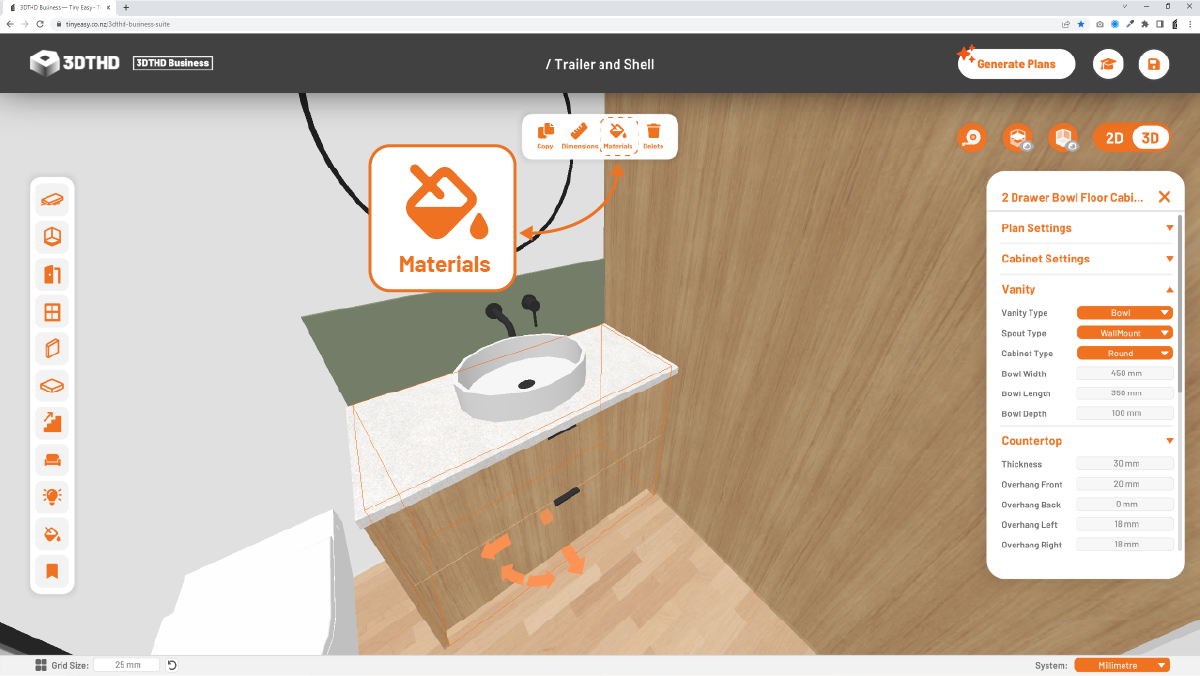
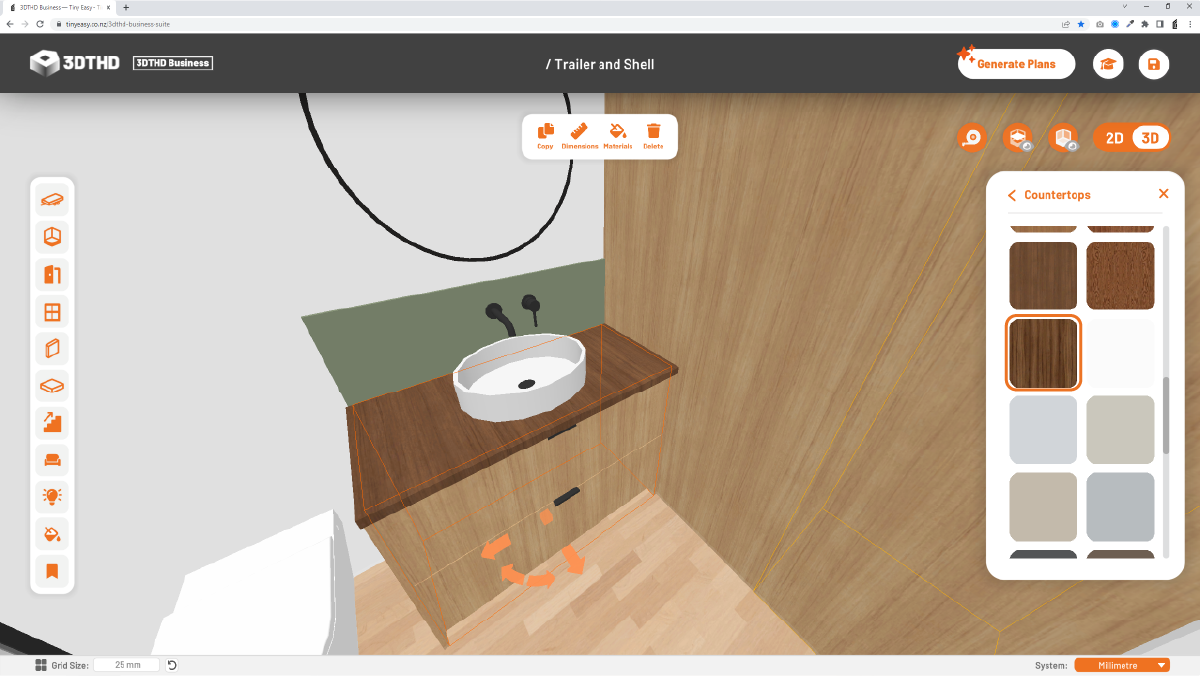
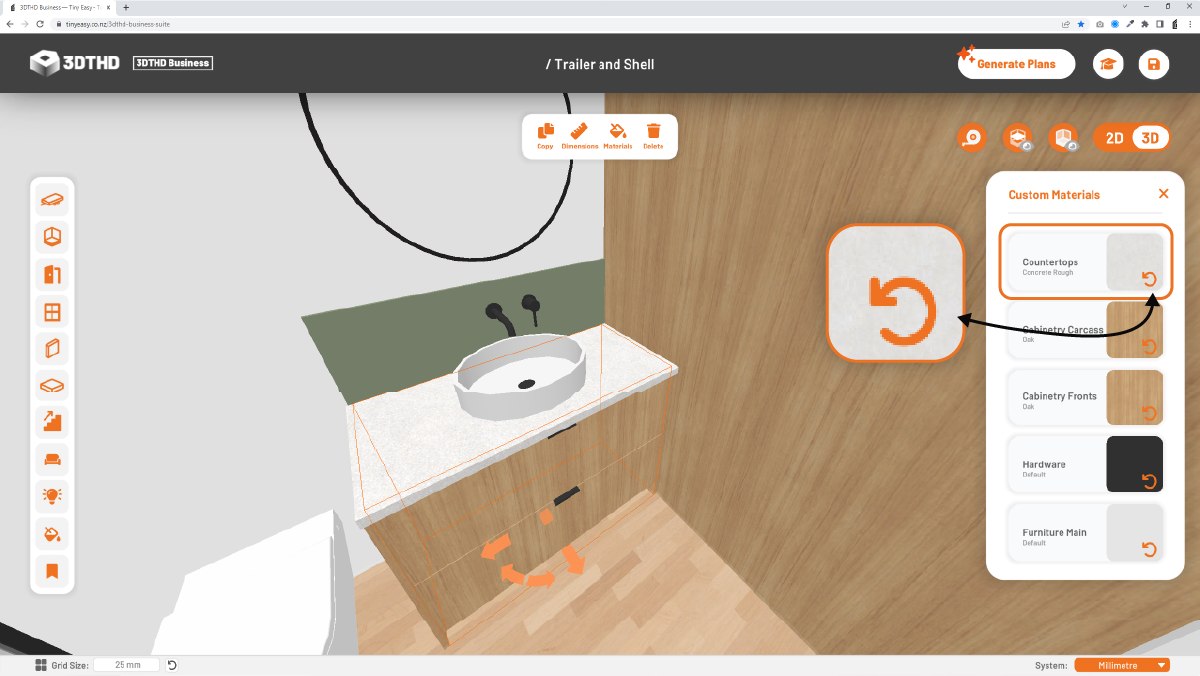
- The Custom Material menu will open on the right of the screen. The Custom Material menu shows all material categories applicable to the object. In this case, they are

- Click on any of the categories to open the Material Selection menu and choose your material. This will overwrite the “Master Material” for this object and assigns a material unique to this specific object. In this case, I am changing the “Countertops” material, to a “White” finish:
- To reset an overwritten material, just click on the orange “reset” arrow on the material you want to reset. This will return the material to the Master Material.
note
We are currently working on the multiple cladding sections that will allow you to add cladding accents to your facade!
COMING SOON!